ansible 설치 테스트
참조하세요! https://st-ycloud.tistory.com/108
[Ubuntu] ansible 설치하고 연결하기
다른분들의 설치 방법을 보고 따라했으나 계속 Permission denied (publickey)가 나와서 울면서 일주일은 공부했다ㅠ 본인은 아래와 같은 방법으로 성공했다 ansible서버와 host서버 둘 다 AWS EC2 Ubuntu Server
st-ycloud.tistory.com
#sudo apt update
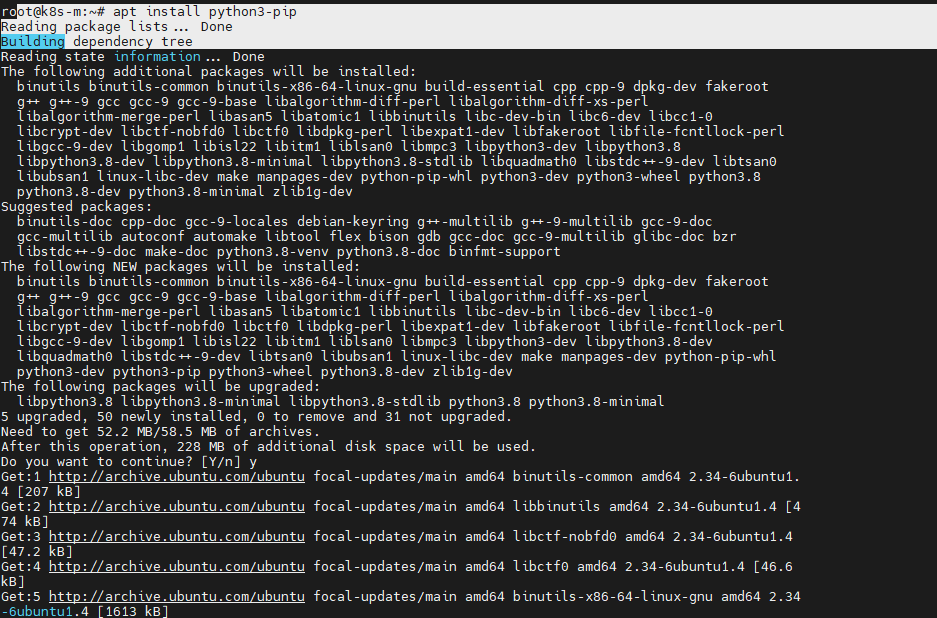
#apt install python3-pip
#sudo apt install ansible

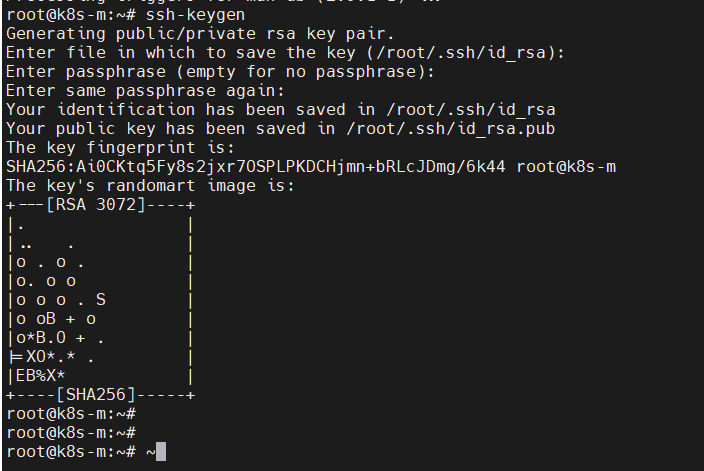
ssh-keygen 명령어를 통해 key를 만들어준다 (이때 비밀번호를 만들었었다)
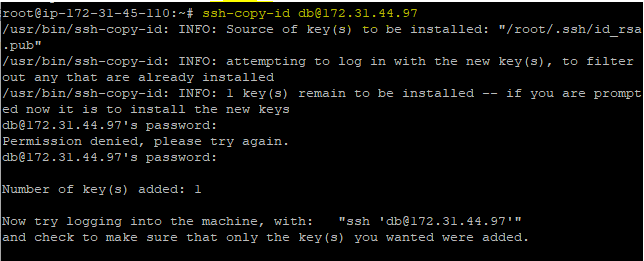
비밀번호 없는 접근을 하기 위해서 ssh-copy-id 유저이름@ip 를 해준다
(vim /etc/ansible/hosts에 ip 넣었는지 확인!)
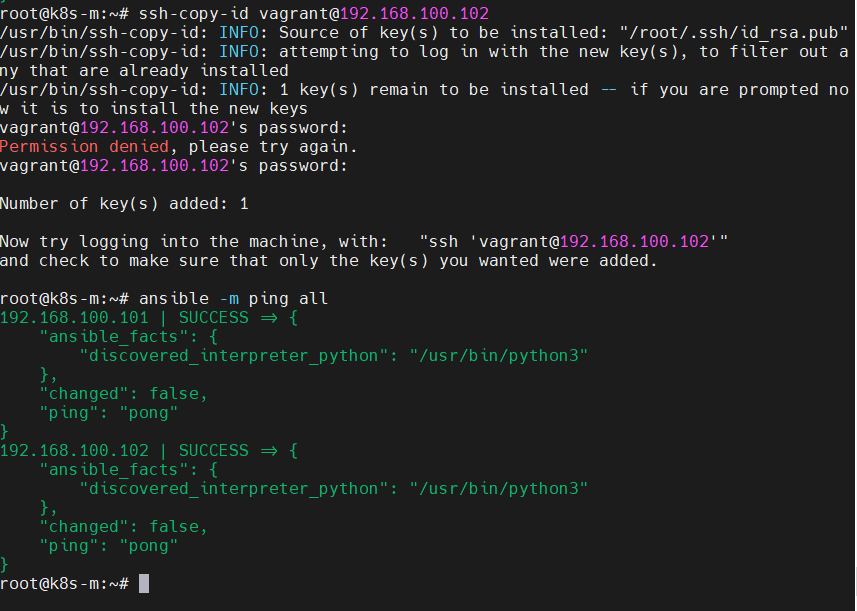
#ssh-copy-id vagrant@192.168.100.101
192.168.100.101 만 실행 했을경우

#ssh-copy-id vagrant@192.168.100.102
192.168.100.101,102 둘사 실행 했을경우 볼수가 있다.
****************
Yum update 및 EPEL 저장소 설치
최근 VM 할당을 받았다면 Yum이 최신버전으로 깔려있어서 업데이트 할 필요가 없습니다. 하지만, 할게 없다는 문구정도 보는 것도 괜찮은 것 같습니다.
# yum install -y epel-releaseAnsible 설치
Ansible 설치 자체는 매우 간단합니다.
# yum install -y ansible깔끔하게 설치가 끝나는 것을 보실 수 있을겁니다.
Ansible Hosts 세팅
Ansible을 설치하고나면 /etc/ansible 폴더가 생성됩니다. 그 안에 hosts 파일이 존재하는데 이 Hosts파일이 이전글에서 얘기했던 Inventory로 보시면 되겠습니다.
vi /etc/ansible/hosts

[clients]
192.168.25.8
192.168.25.9
192.168.25.10
hosts파일에 전에 만들어 두었던 Clients의 IP들을 입력해주면 됩니다. hosts파일에 들어가보면 각주로 여러 예시들이 있으니 참고하시면서 활용해보시면 좋겠습니다.
Client에 대한 Ping Test
ansible clients -m ping

192.168.25.10 | SUCCESS => {
    "changed": false,
    "ping": "pong"
}
192.168.25.9 | SUCCESS => {
    "changed": false,
    "ping": "pong"
}
위의 Command를 입력하면 ping test를 하게 됩니다. 그리고 pong이라고 답이 오게되면 정상적으로 연결이 된 것으로 보시면 됩니다.
**********
centos7 에서 테스트 하였습니다.
ansible 서버에서 ..
[root@template-cent7 /tmp]# yum install ansible
[root@template-cent7 /tmp]# ssh-keygen -t rsa
< enter >
ansible 클라이언트에서 ..
[root@template-cent7 /tmp]# useradd ansible
[root@template-cent7 /tmp]# echo "password" | passwd --stdin ansible
다시 ansible 서버에서 ..
[root@template-cent7 /tmp]# cd /root/.ssh
[root@template-cent7 /root/.ssh]# ssh-copy-id -i id_rsa.pub root@192.168.25.9
[root@template-cent7 /root/.ssh]# ssh-copy-id -i id_rsa.pub root@192.168.25.9
[root@template-cent7 /tmp]# vi test.ini
test ansible_host=192.168.25.9 ansible_user=ansible
[root@template-cent7 /tmp]# ansible -m ping -i test.ini all
test1 | SUCCESS => {
"changed": false,
"ping": "pong"
}
# playbook 예제
[root@template-cent7 /tmp]# cat mcelog.yaml
---
- name: test
hosts: all
become: true
tasks:
- name: mcelog package install
yum:
name: mcelog
state: installed
[root@template-cent7 /tmp]# cat test.ini
test1 ansible_host=192.168.25.9 ansible_user=1-ansible
test2 ansible_host=192.168.25.10 ansible_user=1-ansible
[test-group]
test1
test2
[root@template-cent7 /tmp]# ansible-playbook -i test.ini mcelog.yaml
인벤토리는 위와 같이 파일을 직접 지정하거나, 해당 경로에 등록하여 사용할 수 있음
/etc/ansible/hosts
# shell 모듈 사용
[root@template-cent7 /tmp]# ansible test1 -m shell -a "cat /etc/hosts"
# 모듈 리스트
https://docs.ansible.com/ansible/latest/modules/list_of_all_modules.html
# 모듈 설명보기
[root@template-cent7 /tmp]# ansible-doc <module_name>
Infra IT 자동화 Tool - 앤서블(Ansible) 이란 ?
앤서블 이란? 오픈소스 기반 Provisioning & Configuration management Tools And IT Automation Tool Ansible은 IT 자동화를 위한 오픈소스 기반 도구이며, 풍부한 모듈을 바탕으로 보다 손쉽고 빠르게 목표하는 일 또
11001.tistory.com
Ansible 도입 기대효과
□ 안전성 향상
- 휴먼 에러 방지
- 인력 의존성 탈피
- 모든 변경 이력 관리 가능
- 작업 계획과 운영 환경의 차이 감소
□ 작업 효율 향상
- 대상 서버 수와 상관없이 구축가능, 병렬 실행
- 장시간 작업, 야간 작업에 대한 인력의존성 탈피
- 신속한 릴리즈 작업
□ 다른 툴과 통합하여 자동화와 효율성 향상
- 버전 관리툴(git…)에 의한 순서/설정 관리
- 자동 테스트 툴에 의한 환경 테스트 (serverspec 등)
- 각종 CI(Continuos Integration)툴과의 자동 연계 (Jenkins 등)
- 모니터링 도구와 연계된 장애 대응 자동화 (zabbix, nagios 등)
- Slack 등과 연계해 채팅 베이스에서의 운용 작업 실행