
티스토리 뷰
리눅스에서는 보통 NFS를 많이 사용하지만, 리눅스에 마운트해서 사용하는 방법을 간단히 알아보겠습니다.
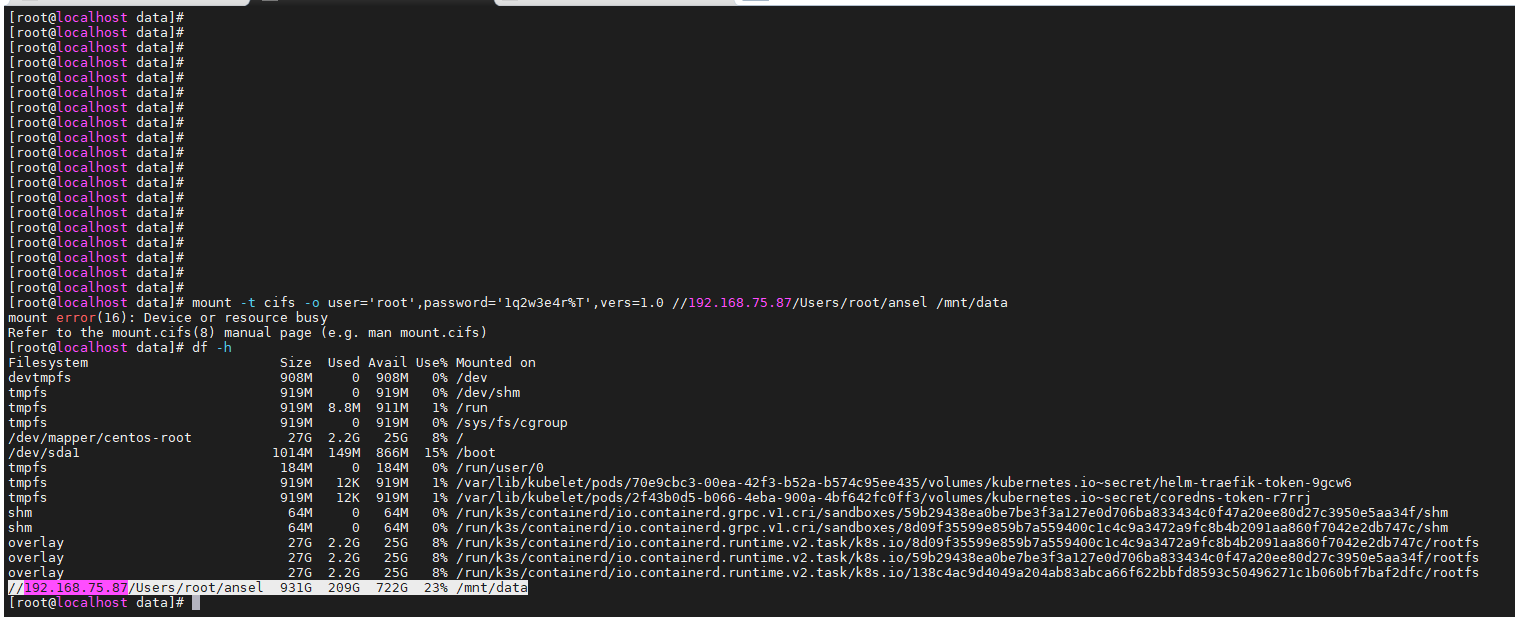
mount -t cifs -o user='사용자이름',password='패스워드' //서버주소/공유폴더 마운트경로
사용자 이름 : root
패스워드 : 1q2w3e4r%T
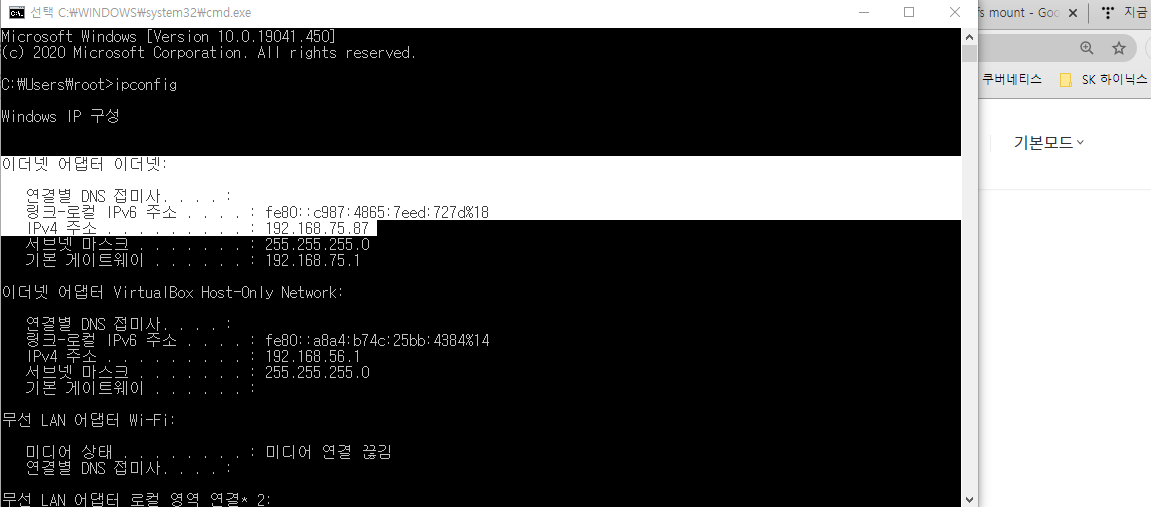
서버주소 : 192.168.56.105
공유폴더 : C:\Users\root\ansel
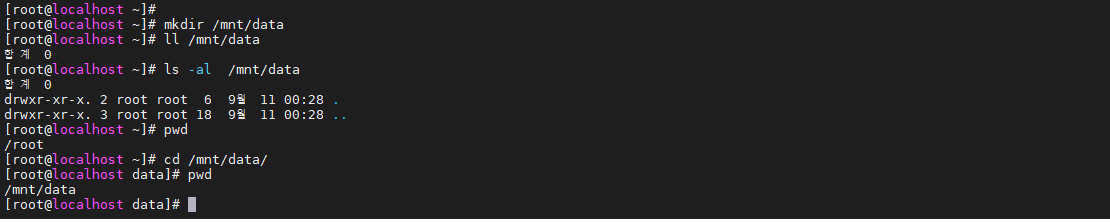
마운트 경로 : /mnt/data


mount -t cifs -o user='root',password='1q2w3e4r%T',vers=1.0 //192.168.75.87/Users\root\ansel /mnt/data
우분투 경우
sudo apt install nfs-common
sudo apt install cifs-utils
centos 경우
yum install nfs-common
yum install cifs-utils
mount -t cifs -o user='사용자명',password='패스워드' //서버주소/공유폴더경로 마운트경로
Bash
명령어 예시
mount -t cifs -o user='testuser',password='P@ssw0rd' //111.222.33.44/shared /data
Bash
mount error(95) Operation not supported 에러 시
vers=1.0 명령어 추가
mount -t cifs -o user='testuser',password='P@ssw0rd',vers=1.0 //111.222.33.44/shared /data
완성!
Installing
VOLUME_PLUGIN_DIR="/usr/libexec/kubernetes/kubelet-plugins/volume/exec"
mkdir -p "$VOLUME_PLUGIN_DIR/fstab~cifs"
cd "$VOLUME_PLUGIN_DIR/fstab~cifs"
curl -L -O https://raw.githubusercontent.com/fstab/cifs/master/cifs
chmod 755 cifs


VOLUME_PLUGIN_DIR="/usr/libexec/kubernetes/kubelet-plugins/volume/exec"
$VOLUME_PLUGIN_DIR/fstab~cifs/cifs init


Running
The plugin takes the CIFS username and password from a Kubernetes Secret. To create the secret, you first have to convert your username and password to base64 encoding:

echo -n username | base64
echo -n password | base64

Running
The plugin takes the CIFS username and password from a Kubernetes Secret. To create the secret, you first have to convert your username and password to base64 encoding:

echo -n username | base64
echo -n password | base64
Then, create a file secret.yml and use the ouput of the above commands as username and password:

apiVersion: v1
kind: Secret
metadata:
  name: cifs-secret
  namespace: default
type: fstab/cifs
data:
  username: 'ZXhhbXBsZQ=='
  password: 'bXktc2VjcmV0LXBhc3N3b3Jk'
Apply the secret:

kubectl apply -f secret.yml
You can check if the secret was installed successfully using kubectl describe secret cifs-secret.

Next, create a file pod.yml with a test pod (replace //server/share with the network path of your CIFS share):

apiVersion: v1
kind: Pod
metadata:
  name: busybox
  namespace: default
spec:
  containers:
  - name: busybox
    image: busybox
    command:
      - sleep
      - "3600"
    imagePullPolicy: IfNotPresent
    volumeMounts:
    - name: test
      mountPath: /data
  volumes:
  - name: test
    flexVolume:
      driver: "fstab/cifs"
      fsType: "cifs"
      secretRef:
        name: "cifs-secret"
      options:
        networkPath: "//server/share"
        mountOptions: "dir_mode=0755,file_mode=0644,noperm"
Start the pod:

kubectl apply -f pod.yml
You can verify that the volume was mounted successfully using kubectl describe pod busybox.

Testing
If everything is fine, start a shell inside the container to see if it worked:

kubectl exec -ti busybox /bin/sh
Inside the container, you should see the CIFS share mounted to /data.
댓글
공지사항
최근에 올라온 글
최근에 달린 댓글
- Total
- Today
- Yesterday
링크
TAG
- 오라클 인스턴트클라이언트(InstantClient) 설치하기(HP-UX)
- 여러서버 컨트롤
- 오라클 트러블 슈팅(성능 고도화 원리와 해법!)
- 테라폼
- [오라클 튜닝] sql 튜닝
- K8s
- directory copy 후 startup 에러
- 키알리
- 앤시블
- 커널
- 우분투
- MSA
- 오라클 홈디렉토리 copy 후 startup 에러
- 쿠버네티스
- 튜닝
- (InstantClient) 설치하기(HP-UX)
- 스토리지 클레스
- Oracle
- 코로나19
- startup 에러
- 5.4.0.1072
- pod 상태
- 트리이스
- CVE 취약점 점검
- [오라클 튜닝] instance 튜닝2
- 설치하기(HP-UX)
- 버쳐박스
- 오라클
- ubuntu
- ORACLE 트러블 슈팅(성능 고도화 원리와 해법!)
| 일 | 월 | 화 | 수 | 목 | 금 | 토 |
|---|---|---|---|---|---|---|
| 1 | 2 | 3 | 4 | 5 | 6 | 7 |
| 8 | 9 | 10 | 11 | 12 | 13 | 14 |
| 15 | 16 | 17 | 18 | 19 | 20 | 21 |
| 22 | 23 | 24 | 25 | 26 | 27 | 28 |
| 29 | 30 |
글 보관함